
The following guide will show you how to extract your beer list and keg list from your previous install, Then you will follow either the “With Flow Meter” walk though or the “Without Flow Meter” walk through. Then you will come back to this guide and we will show you how to import the data you exported earlier into the new version of the install.
[nbox type=”notice”]!!!!WARNING!!!!
Any Custom changes will be removed in this process so please backup your changes to your local system.[/nbox]
Step 1. When on your Raspberry Pi desktop, launch chromium.
Step 2. In the URL bar go to localhost/phpmyadmin, if phpMYadmin is not already installed RUN: [nbox type=”notice”]sudo apt-get -y install phpmyadmin[/nbox]
If you are still unable to go to localhost/phpmyadmin then make sure it is installed by going to /usr/share/phpmyadmin, if it gived you an error it is not installed. If it changes to that directory then GREAT, we will now make a symbolic link to it in /var/www RUN:
[nbox type=”notice”]cd /var/www
ln -s /usr/share/phpmyadmin
[/nbox]
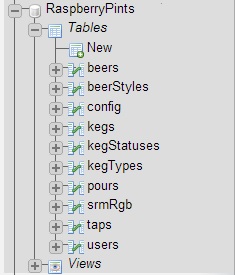
Step 3. Once logged into phpmyadmin on the left hand side select the raspberrypints database by just clicking on it.
Step 4. A list of tables will expand on the left side under this database name.
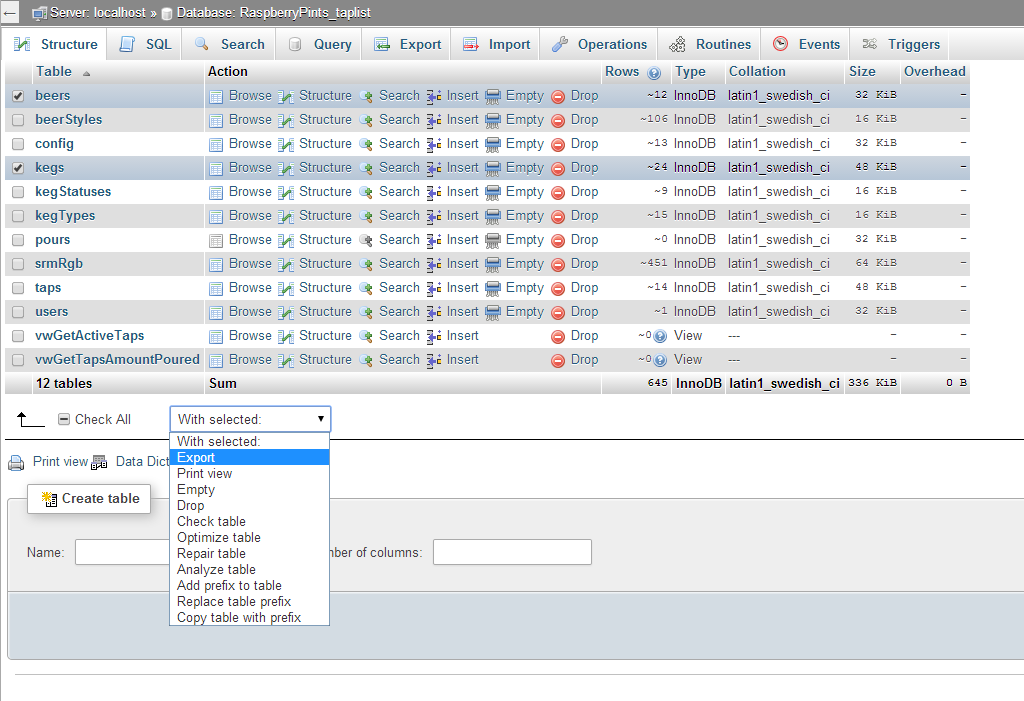
Step 5. Select the “Beers” and “Kegs” tables then go to the bottom dropdown and where is says “With Selected:” select export. This will automatically take you to a screen where you need to click go and a file will download with the data from those two tables. Save this file and remember where it is at, you will need it after your fresh install.
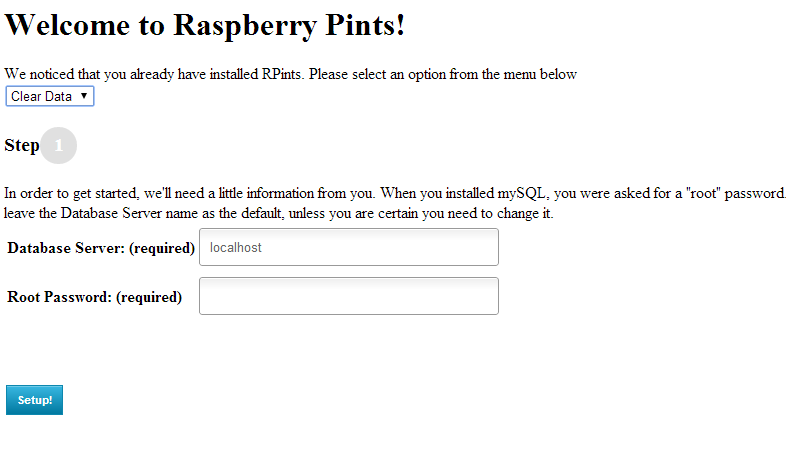
Step 6. Go to your taplist URL, in most cases localhost but this time add the /install directory after it. example:(http://localhost/install).
Step 7. Once on this page it should like the screen shot provided. Put in the root password and make sure the dropdown at the top of the page is set to Clear Data (This is going to delete the raspberry pints database).
Step 8 (Flow Meter Users ONLY). Install the Necessary modules to run the Flow Meters.
Now we’ll install The necessary modules to run the flow meters on the raspberry Pi along with installing what we need to managed the AlaMode Board.
[nbox type=”notice”]sudo apt-get update
sudo apt-get upgrade
sudo apt-get install arduino python-serial python-mysqldb php5-cli xdotool[/nbox]
Step 9 (Flow Meter Users ONLY). To make the necessary changes for the Arduino IDE to recognize AlaMode, Run the following command below to get the package we need to work with.
[nbox type=”notice”]wget https://github.com/wyolum/alamode/raw/master/bundles/alamode-setup.tar.gz[/nbox]
From the command line, unpack and install it:
[nbox type=”notice”]pi@raspberrypi ~ $ tar -xvzf alamode-setup.tar.gz
pi@raspberrypi ~ $ cd alamode-setup
pi@raspberrypi ~ $ sudo ./setup[/nbox]
Step 10. Change your location to the directory that contains all of the RaspberryPints code. in our example it is /var/www
[nbox type=”notice”]cd /var/www[/nbox]
Step 11. We are going to remove all of the old files. MAKE SURE YOU ARE IN THE CORRECT DIRECTORY. Then RUN the following:
[nbox type=”notice”]rm -rf admin img includes install sql LICENSE.md README.md high-res.css index.php pint.ico style.css[/nbox]
We wrote out the removal to do each file so that we do not remove any of your other content on the pi.
Step 12.a. (Flow Meter Users ONLY). Follow Steps 7, 8, and 9 of the with flow meter guide to finish your setup.
Step 12.b.(Non Flow Meter Users ONLY). RUN: [nbox type=”notice”]sudo apt-get update
sudo apt-get upgrade[/nbox]Then follow Steps 6, and 7 of the Without flow meter guide to finish your setup.
Once finished with steps 1-12 come back here to learn how to import that data we exported at the beginning of this guide.
……Sometime Later
Welcome back and congrats on your upgrade to Raspberrypints 2.0.0!!!!! Lets get the old data imported into your new install.
Step 1. When on your Raspberry Pi desktop, launch chromium.
Step 2. In the URL bar go to localhost/phpMYadmin, if phpMYadmin is not already installed RUN: [nbox type=”notice”]sudo apt-get -y install phpmyadmin[/nbox]
Step 3. On the left hand side select the raspberrypints database by just clicking on it.
Step 4. We now need to remove any beers and kegs in the Beers and Kegs table. We will show you how to do the beers and the kegs will be done the same way. After you have clicked on the database name on the left as we had you do in step 3, in the middle of the page you will see all of the tables in the database. click on the table name beers.

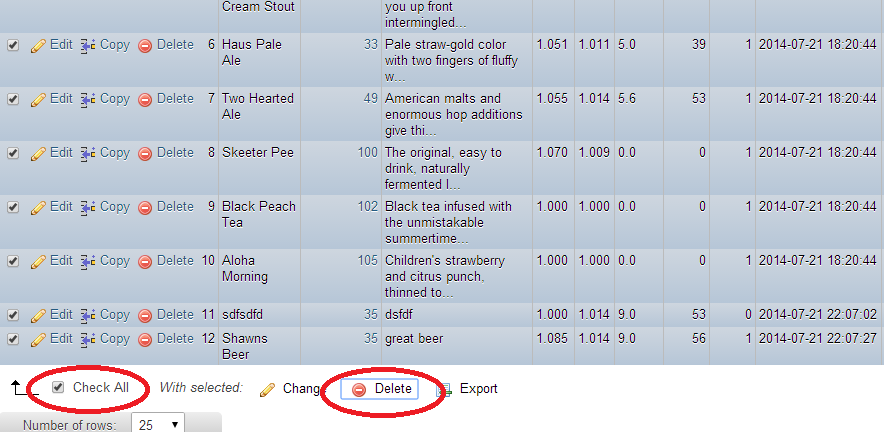
Step 5. This will load a list of all of your beers. scroll to the bottom and choose the check all checkbox. Then hit the Delete button, this will take you to a page asking are you sure. Hit yes.
Step 6. On the left side of the screen click on the database name again (raspberyrpints), this will take you to the screen of all the tables in this database again and this time do the same thing but with the kegs table.
Step 7. Go to the top nav bar of your phpMYadmin and click on Import

Step 8. Click the choose file button and select the file you exported at the beginning of this guide (We told you to remember where you save it) Now select that file and hit open
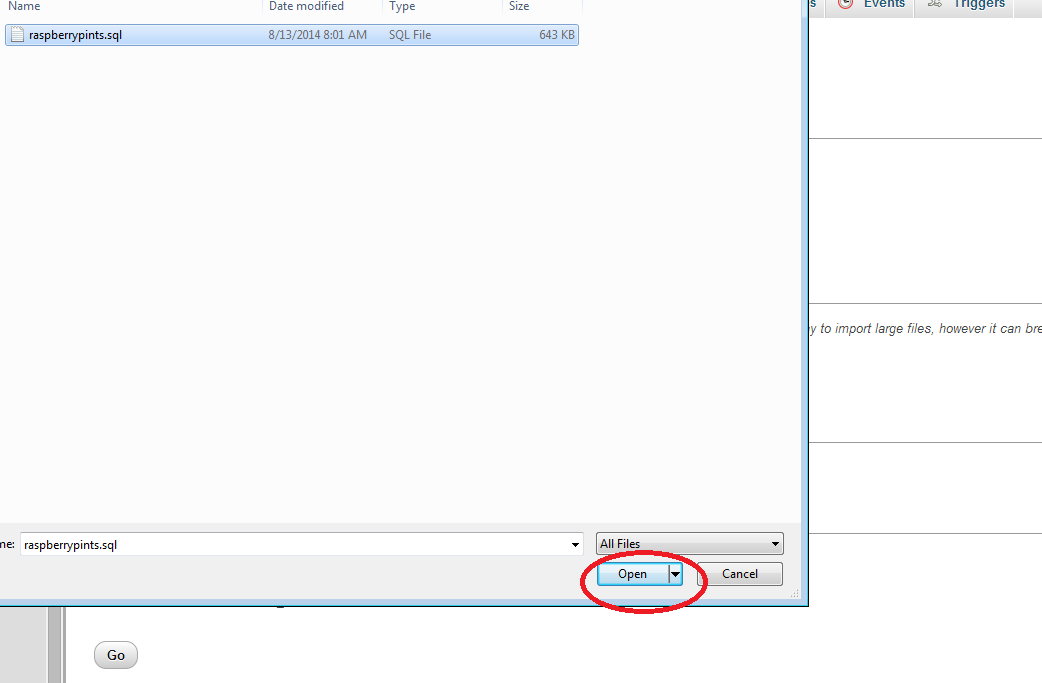
Step 9. Click the go button and this will import all of your data into those tables. You may get an error about not being able to create a table, ignore this.
Step 10.a. (Flow Meter Users ONLY)
Continue to Step 10 of the with flow meter guide to finish your setup.
Step 10.b.(NON Flow Meter Users ONLY)
Continue to Step 8 of the NON flow meter guide to finish your setup
